


If you recently upgraded from Windows 10 to 11, the Go back feature allows you to revert to the previous Windows OS version without deleting any of your files. However, this option is only available for 10 days unless you have extended it to 60 days.
But, if you have crossed the deadline, the option doesn’t show up in the Settings app. Or, the button appears grayed out and clicking it doesn’t do anything.
Specifically, on Windows 11 Insider Preview Build, you face issues like the Go back and the Reset button not working. For such cases, you only have the option to go back to the older OS version with a clean install.
How Does the Go Back Feature Work?
After upgrading to Windows 11, your system automatically creates a backup of all your previous Windows information and stores them in Windows.old folder. This folder is used to restore all your information when you click the Go back button.
For instance, if you have Windows 11 22H2, the Go back feature only rolls back your system to Windows version 21H2. Similarly, you can use the feature to downgrade the initial Windows 11 version back to Windows 10.
However, Windows removes the above folder once the trial period is over. Then, the Go back is no longer available. But, you can still uninstall other recent updates like quality and security updates on the Settings app by going to Windows Update > Update History.
Using the Advanced Startup Option
If the Go back button isn’t responding or working even under the trial period of the Windows 11 upgrade, you can use the Advanced startup option. Once you uninstall the feature update using this process, you can revert to the previous Windows 11 version.
- Press Windows + I to open the Settings app.
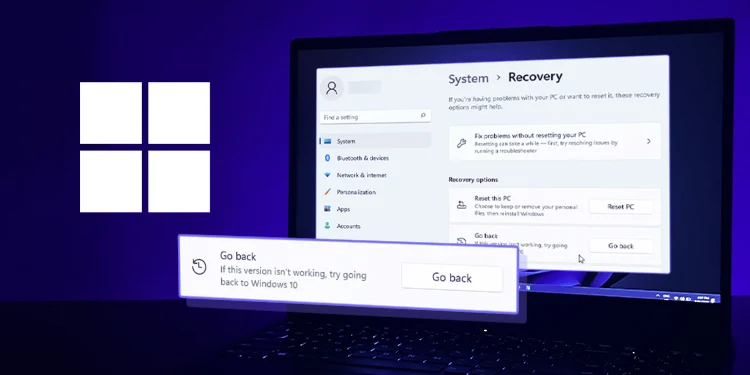
- Navigate to System > Recovery