


VLC Player is undoubtedly one of the simplest and powerful media player that can not only play a variety of files but also fixes corrupted video files in no time.
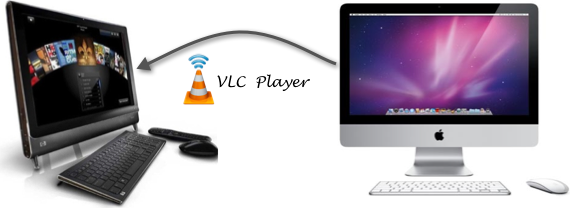
Let’s take a situation where you have a Mac — iMac, MacBook Pro or Air — and your friend has a Windows PC. If both of you have VLC Player installed on your machine, it is easier to stream video clips and music files from one computer to another.
Here is how you can use VLC for streaming videos.
VLC Video Streaming Guide For Mac and Windows
I am using Mac as my primary computer to stream a video clip to my Windows XP machine. You can use this tutorial for streaming videos from Mac to Mac, Mac to Windows, or even Windows PCs to Linux laptops. The only thing you have to make sure is that VLC Player should be installed on both the PCs.
I am going to stream a video (movie sample clip) from my iMac to Windows computer. Let’s start…

Step 1: Find Mac’s Local Address to Stream Video Later
To find Mac’s local address, go to System Preference -> Sharing. The Computer Name is the address you will use later. Save the name; in my case, it is Admins-iMac.local.
We will use this local address on our Windows PC in Step 4.
Step 2: Open Streaming Wizard on VLC Player
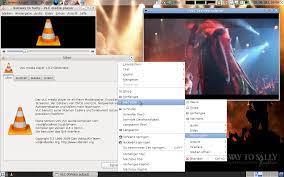
On your Mac, assuming that you have already launched VLC Player, go to the File menu and select Streaming / Exporting Wizard…
Choose Stream to Network which allows you to stream movies and audio over a network. Press Next.
Step 3: Select Video File For Local Streaming
Select a Stream: Select the video file you’d like to stream from your Mac to Windows — it can be any file of any size. Press Next.
In the next streaming page, choose HTTP to playback video on several computers. No need to enter any destination address.
In the Transcode page, it is up to you to change the compression format of the audio or video tracks. I will leave them untouched and move further by pressing Next.
If you want to select how the stream will be encapsulated, select any of the video format: MPEG PS, MPEG TS, MPEG 1, OGG, RAW, ASF, MPEG 4, MOV, WAV, ASFH.
I will choose MPEG TS format.
The next dialog box contains additional streaming parameter. Once again I will leave them untouched.
Go Next and hit Finish.
Step 4: Launch VLC Player on Windows Computer
On your Windows PC, launch VLC Player and head over to Media -> Open Network Stream…
Type in Mac’s local network address obtained from step 1. In my case, the address will be this:
http://Admins-iMac.local:8080
Do not forget to add :8080 at the end of the address..
Now VLC Player will automatically play the video file of your Mac on your Windows computer.